DIY-ing your manicure has never been so popular, and it’s easy to see why. This is especially true when exploring the no-chip manicure. Instead of going to a salon each time you wish to update your look, you can now achieve the same stunning results with no hassle in just a few simple steps at home! Whether this is new territory for you or you have become an expert, there are plenty of ways—using tools that can be easily found around your home—to get salon-quality nails without leaving the comfort of your living room. This article will explore some at-home alternatives for getting that perfect no-chip manicure. But, first, let’s delve into how we can upgrade our nails without having professional help – read on!
How to achieve the perfect no-chip manicure at home
Achieving a perfect no-chip manicure at home is easier than it may seem. All you need are the right tools and techniques, and you’ll be able to get that salon-quality look in no time! Here are some steps to help you achieve the perfect no-chip manicure at home:
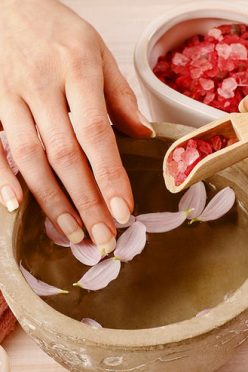
- Prepare your nails by cleaning them with an alcohol wipe to remove any dirt and oils. Next, buff away any ridges or bumps on the nail surface using a buffing block.
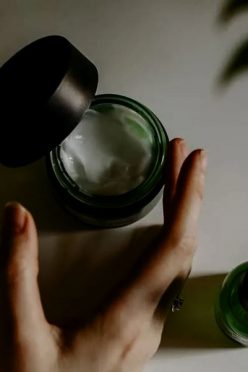
- Next, apply two thin coats of a good quality base coat to protect your nails from staining and chipping over time. Allow each coat of base coat to dry completely before applying the next.
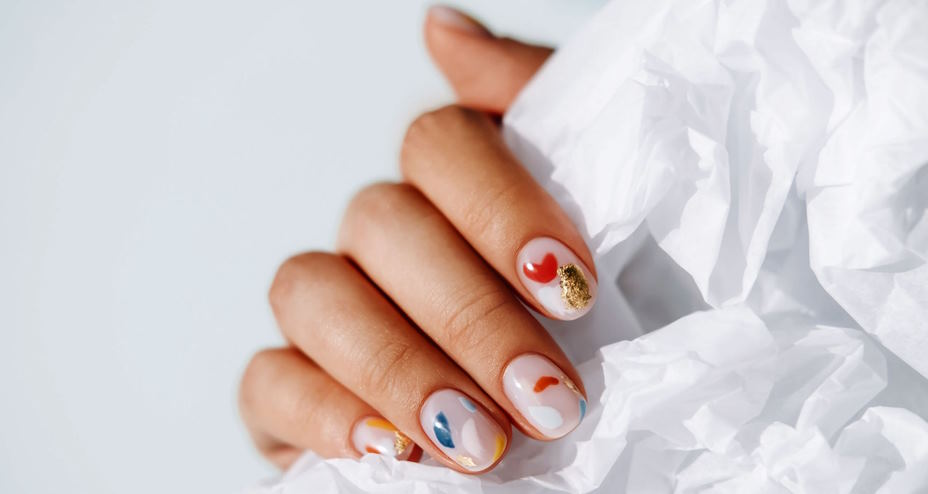
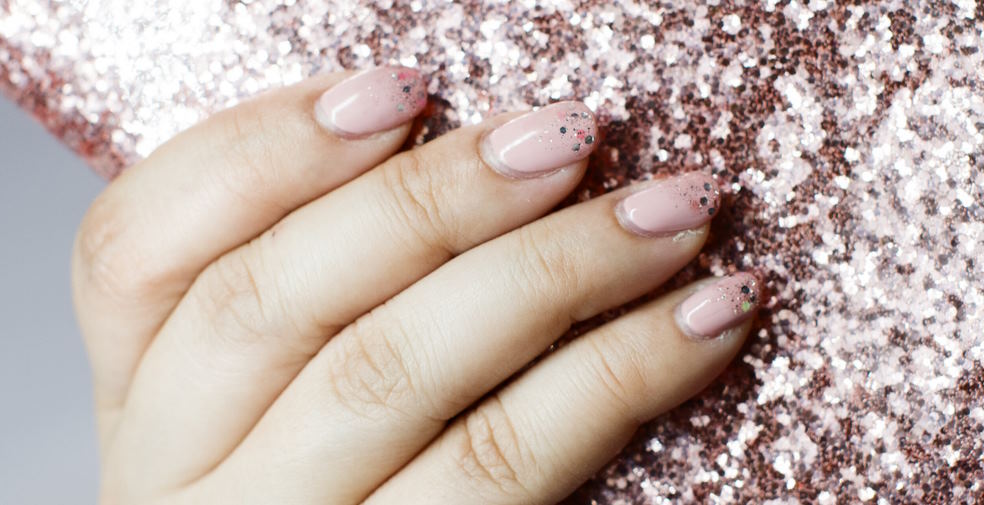
- Now choose your favorite color of nail polish, and apply two thin coats of the polish onto each nail. Make sure to seal the free edge of the nails to protect them from chipping. Allow the nail polish to dry completely before applying a top coat.
- Finally, finish off with a good quality top coat for extra shine and protection against chips and scratches. Allow all layers to dry completely before wearing or touching your hands!
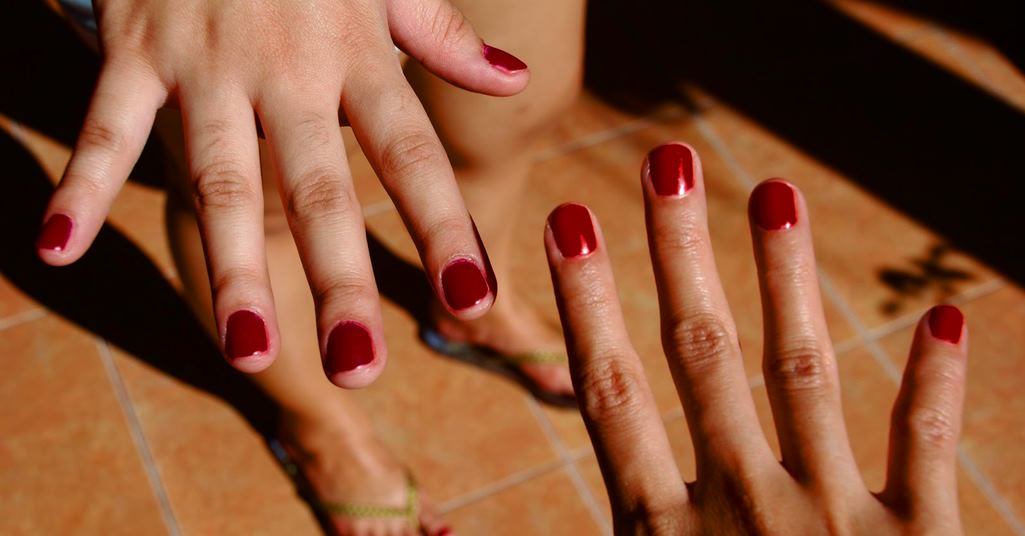
With these tips, you’ll be able to achieve that perfect no-chip manicure at home in no time! Enjoy your beautiful nails!
Why you should never get a no-chip manicure again
No-chip manicures, also known as gel or shellac manicures, are popular for providing a durable and long-lasting finish. However, some hidden dangers are involved in this type of manicure. Here are the top reasons why you should never get a no-chip manicure again:
- Damage to Nails: No-chip manicures involve wrapping the nail in a gel or acrylic coating that is cured under ultraviolet light. This process can cause significant damage to the underlying structures of your nails due to dehydration and chemical irritation from the products used. Over time, this can lead to dry, brittle nails that may become prone to cracking and peeling more easily.
- Increased Risk of Allergies: No-chip manicures involve using products that can cause allergic reactions and skin irritation. For example, some people experience sensitivities to UV light, which is used to cure gel nails or nail polish adhesives in no-chip manicures.
- Health Risks: In addition to potentially damaging your nails and causing allergic reactions, no-chip manicures can pose serious health risks. This is because these types of manicures are often done in poorly ventilated areas with little or no protective equipment for technicians and customers alike. In addition, the chemicals used for this type of manicure may be toxic if breathed in over a long period of time, so it’s important to be aware of the safety risks before you go for a no-chip manicure.
Overall, it’s best to avoid no-chip manicures and opt for traditional nail care instead. Traditional nail care is less likely to cause damage or pose health risks, and your nails will look just as good without all the extra chemicals! Plus, with regular trimming and maintenance, you can keep your nails in tip-top shape without putting yourself at risk. So take care of your nails safely and stick to traditional manicures from now on!
Recommended To You